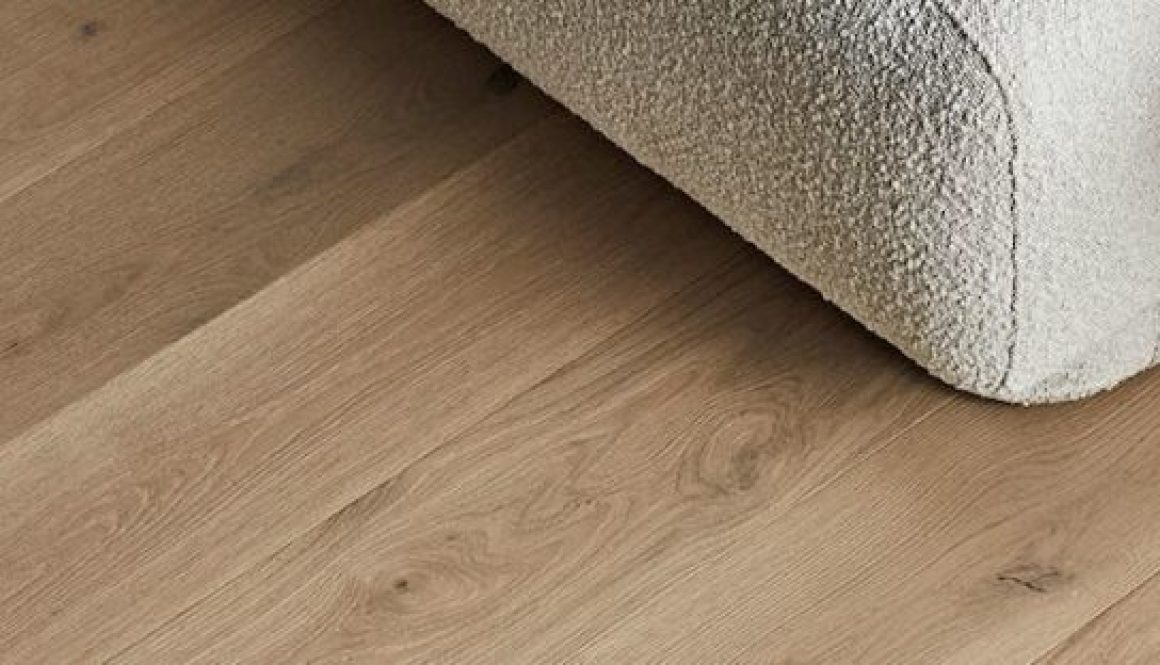
Sand and Finish a Wood Floor
If you’re looking to sand and finish a wood floor, here’s a step-by-step overview of the process, whether you’re doing it yourself or hiring a professional:
Step 1: Preparation
-
Remove furniture and any rugs or curtains near the floor.
-
Clean the floor thoroughly to remove dust and debris.
-
Inspect for nails or staples — countersink any that are sticking up.
-
Seal off the room with plastic sheeting to prevent dust from spreading.
Step 2: Sanding
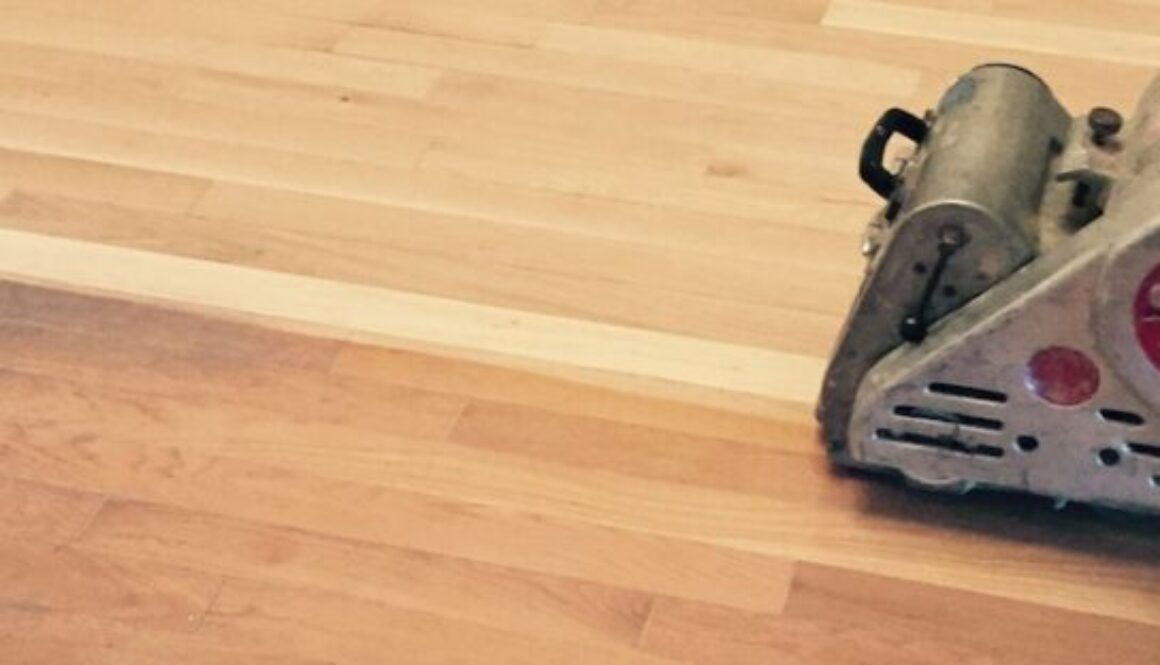
You’ll typically need three passes with different grit sandpaper:
-
Coarse Grit (36–40 grit)
Removes the old finish and levels the floor. -
Medium Grit (60–80 grit)
Smooths out the scratches from the coarse grit. -
Fine Grit (100–120 grit)
Prepares the surface for finishing.
-
Edge sanders or hand sanders are needed for corners and edges.
-
Vacuum and tack cloth after each sanding pass to remove dust.
Step 3: Staining (Optional)
-
Apply a wood stain if you want to change the floor color.
-
Use a clean cloth or brush, and wipe off excess.
-
Let it dry for 24 hours.
Step 4: Finishing
There are three main types of finish:
-
Oil-Based Polyurethane
-
Durable, warm tone, slower drying.
-
2–3 coats, 8–12 hours dry time between coats.
-
-
Water-Based Polyurethane
-
Fast drying, low odor, clear finish.
-
3–4 coats, 2–4 hours dry time between coats.
-
-
Hardwax Oil or Natural Oil
-
Penetrates the wood, natural look, easier to spot repair.
-
-
Buff lightly between coats with a fine abrasive pad.
-
Vacuum and tack cloth before applying each coat.
Step 5: Curing
-
Avoid heavy traffic or placing furniture for 7 days.
-
Allow 24–48 hours for light foot traffic, depending on finish.
Tools and Materials Needed
-
Drum or orbital floor sander
-
Edge sander
-
Shop vacuum
-
Tack cloths
-
Sandpaper (various grits)
-
Stain (if desired)
-
Polyurethane or oil finish
-
Applicators (brush, roller, or pad)
