Floor Finishers Plus

Wood Floors in Hot Climates
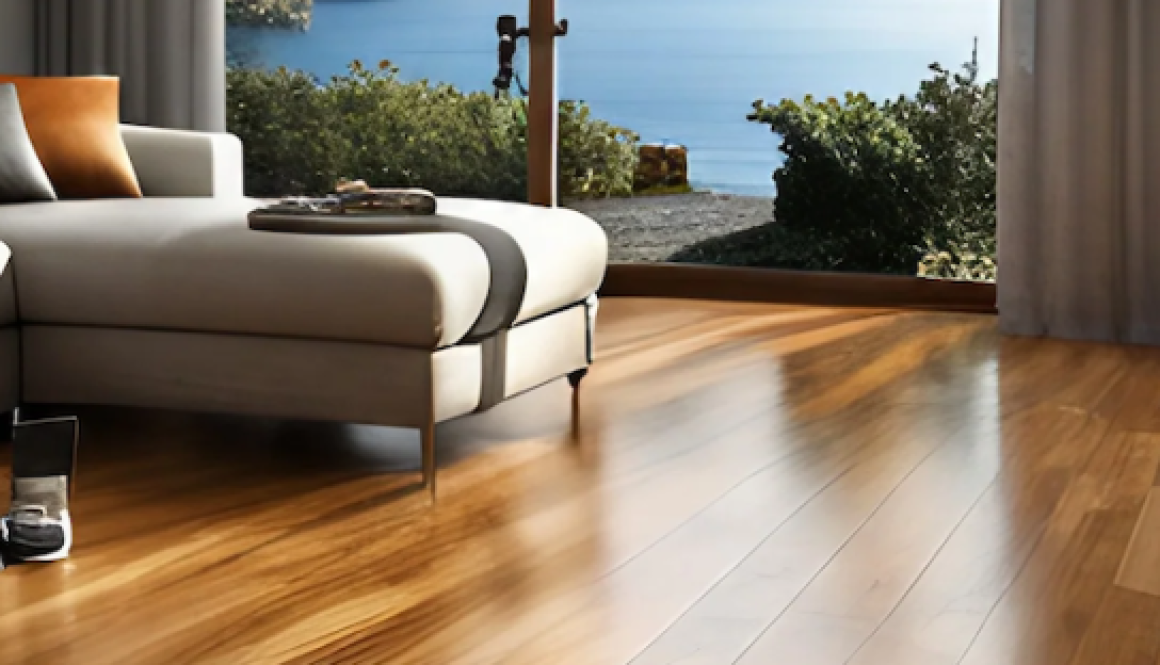
Choosing the best wood floors for humid conditions involves selecting types that are more stable and resistant to moisture changes. Here are some recommendations:
-
Engineered Wood Flooring:
- Stability: Engineered wood is made of multiple layers of wood veneer, making it more stable and less prone to expanding and contracting with humidity changes.
- Appearance: It looks like solid wood but is better suited for humid environments.
-
Bamboo Flooring:
- Durability: Bamboo is technically a grass, but it’s extremely hard and durable.
- Moisture Resistance: It’s more resistant to moisture than many types of hardwood, making it a good choice for humid conditions.
-
Teak Flooring:
- Natural Oils: Teak has natural oils that make it highly resistant to moisture and pests.
- Durability: It’s very durable and can withstand high humidity without warping.
-
Cypress Flooring:
- Natural Resistance: Cypress contains natural oils that provide resistance to moisture and insects.
- Aesthetic: It has a unique grain and color, adding a distinct look to your home.
-
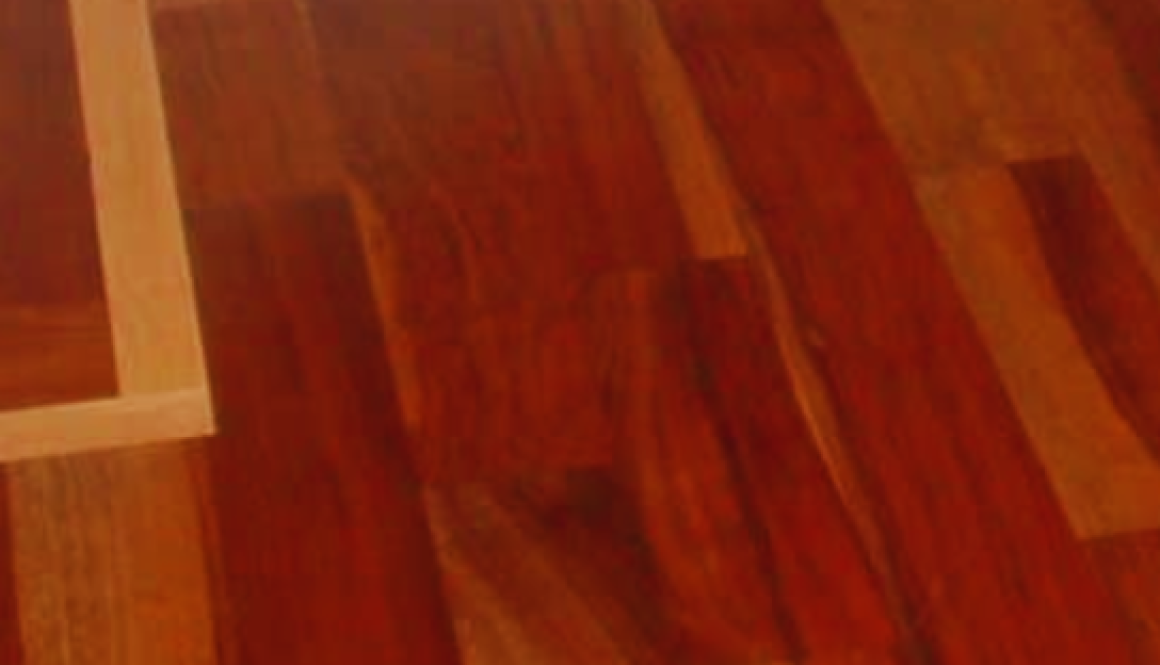
Mahogany Flooring:
- Stability: Mahogany is dense and stable, making it less susceptible to changes in humidity.
- Appearance: It offers a rich, warm look with excellent durability.
Additional Tips for Humid Conditions:
- Acclimation: Allow your wood flooring to acclimate to your home’s humidity levels before installation. This can help prevent future warping or gaps.
- Installation: Use proper installation methods, such as leaving expansion gaps around the perimeter of the room to allow for wood movement.
- Humidity Control: Maintain indoor humidity levels between 30% and 50% using dehumidifiers or air conditioning to protect your wood floors.
If you have specific preferences or requirements, like color, finish, or budget, let Floor Finishers Plus know so we can tailor our recommendations further.
How often should you replace wood floors
The frequency at which you should replace wood floors depends on various factors, including the type of wood, the level of foot traffic, maintenance practices, and the overall condition of the flooring. In general, well-maintained hardwood floors can last for decades, and some high-quality hardwoods can even last for over a century.
Here are some considerations for determining when to replace wood floors:
-
Wear and Tear: High-traffic areas, such as hallways and living rooms, may show signs of wear sooner than less-used areas. Scratches, dents, and other forms of damage can accumulate over time.
-
Water Damage: Wood floors are susceptible to water damage. If your floors have been repeatedly exposed to water or have suffered from leaks, it can lead to warping, cupping, or other forms of damage that may necessitate replacement.
-
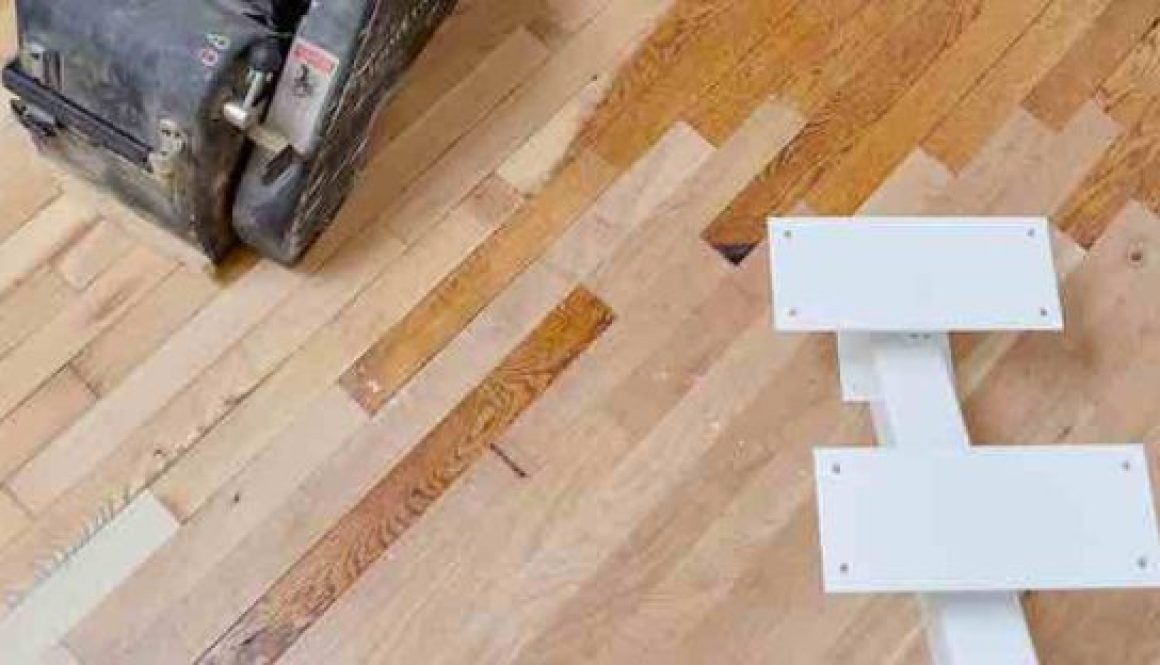
Refinishing Limit: Hardwood floors can be refinished to renew their appearance and address minor damage. However, there is a limit to how many times a floor can be refinished. If your floors have been refinished multiple times and are still showing signs of wear, replacement might be necessary.
-
Outdated Style or Design: Sometimes, homeowners choose to replace wood floors due to a desire for a new style or design that better suits their tastes or the current trends.
-
Structural Issues: If there are underlying structural problems with the subfloor or support structure, it may be necessary to replace the wood flooring.
-
Budget and Lifestyle Changes: Changes in budget or lifestyle may also prompt a decision to replace wood floors. For example, a growing family may prefer a more durable flooring option, or a homeowner may choose to upgrade to a higher-quality wood.
As a general guideline, well-maintained hardwood floors can last 20-100 years or more. Regular cleaning, proper maintenance, and addressing issues promptly can extend the lifespan of your wood floors. However, if your floors show significant damage, are outdated, or no longer meet your needs, it might be time to consider replacement. Consulting with flooring professionals can provide valuable insights into the condition of your floors and help you make an informed decision.
Spring Cleaning and Hardwood Floors
When it comes to spring cleaning and hardwood floors, you want to ensure a thorough cleaning without causing any damage to the wood. Here’s a step-by-step guide:
-
Dust and Sweep: Start by dusting or sweeping the hardwood floors to remove loose dirt, dust, and debris. You can use a soft-bristle broom or a dust mop. This helps prevent scratching when you move on to wet cleaning.
-
Vacuum: Consider using a vacuum cleaner with a soft brush attachment or one designed for hardwood floors. This will help pick up finer particles that sweeping might miss.
-
Damp Mop: Use a well-wrung mop or a microfiber mop for damp mopping. Avoid excess water, as standing water can damage the wood. You can dampen the mop with a hardwood floor cleaner or a mixture of water and a mild wood floor cleaning solution.
-
Natural Cleaning Solutions: If you prefer a natural cleaning solution, you can mix water with a small amount of vinegar or a few drops of mild dish soap. Be cautious with vinegar as excessive use can dull the finish.
-
Avoid Harsh Chemicals: Do not use harsh chemicals, ammonia, or abrasive cleaners, as they can damage the finish of the hardwood floors.
-
Wipe Spills Immediately: Promptly wipe up any spills to prevent them from seeping into the wood and causing damage.
-
Protective Mats and Rugs: Place mats at entryways to trap dirt and prevent it from being tracked onto the hardwood floors. Use rugs or mats in high-traffic areas to reduce wear.
-
Check for Wear and Tear: Take the opportunity during spring cleaning to inspect the floors for any signs of wear, scratches, or damage. Address any issues promptly.
-
Furniture Pads: Place felt or rubber pads on the bottom of furniture legs to prevent scratches and marks when moving furniture.
-
Regular Maintenance: Implement a regular cleaning routine to keep your hardwood floors in good condition. Dust and clean them regularly to prevent dirt buildup.
Remember, consistency is key when it comes to maintaining hardwood floors. By incorporating these tips into your spring cleaning routine, you can help keep your hardwood floors looking beautiful for years to come.

Best Wood Floor Choice In Cold Weather
In cold weather conditions, it’s essential to choose a wood flooring option that can withstand temperature fluctuations and resist potential damage caused by low temperatures and humidity. Here are some wood flooring choices that are generally suitable for cold weather:
-
Engineered Hardwood Flooring:
- Engineered hardwood is more stable than solid hardwood and is less prone to expanding or contracting due to temperature changes.
- It consists of layers of wood stacked in a cross-grain configuration, providing enhanced dimensional stability.
-
Laminate Flooring:
- Laminate flooring is made of high-density fiberboard (HDF) and a wear layer with a printed design.
- It is more resistant to temperature and humidity changes compared to solid wood flooring.
-
Bamboo Flooring:
- Bamboo is known for its natural resistance to temperature changes and moisture.
- It’s an eco-friendly option and can be as durable as traditional hardwood.
-
Luxury Vinyl Plank (LVP) Flooring:
- LVP is a synthetic flooring option that mimics the look of wood.
- It is highly resilient to temperature changes, water-resistant, and suitable for cold climates.
-
Tile or Stone Flooring:
- These materials are excellent conductors of heat and can help maintain a consistent temperature in cold weather.
- However, they can feel cold to the touch, so using area rugs or radiant heating systems may be advisable.
Before making a decision, consider factors such as the specific climate conditions in your area, the level of insulation in your home, and whether you have an efficient heating system. Additionally, make sure to follow proper installation guidelines to minimize the impact of temperature changes on your wood flooring.
Vinyl Plank or Bamboo Flooring
Vinyl plank and bamboo flooring are two popular choices for flooring, each with its own set of characteristics and advantages. Here’s a brief overview of both:
-
Vinyl Plank Flooring:
- Material: Vinyl plank flooring is made of synthetic materials, primarily PVC (polyvinyl chloride).
- Appearance: It often mimics the look of wood or stone and comes in a variety of colors and styles.
- Durability: Vinyl plank flooring is known for its durability and resistance to moisture, making it suitable for areas prone to spills.
- Installation: It typically comes in a click-and-lock or adhesive form, making it relatively easy to install.
- Maintenance: Vinyl plank flooring is easy to clean and maintain, requiring regular sweeping and occasional mopping.
-
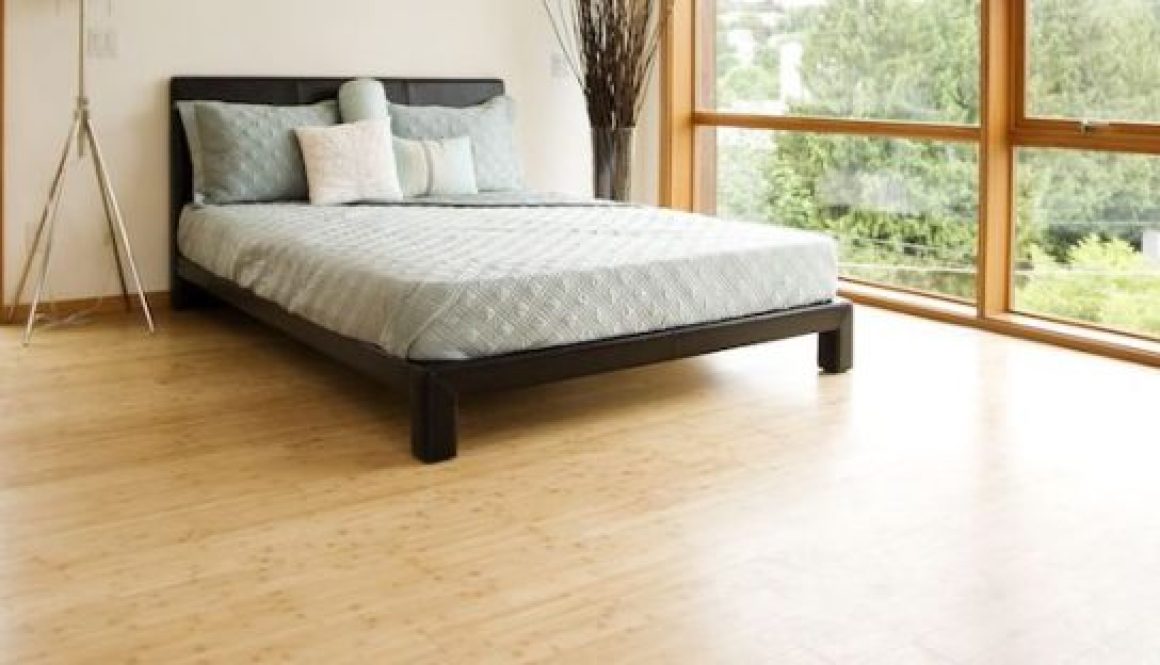
Bamboo Flooring:
- Material: Bamboo flooring is made from natural bamboo, which is a renewable resource.
- Appearance: It has a unique and attractive look, resembling hardwood flooring. Bamboo comes in different colors, ranging from light to dark.
- Durability: Bamboo is quite durable and hard, making it resistant to scratches and dents.
- Installation: Bamboo flooring can be installed using various methods, including floating, glue-down, or nail-down installations.
- Environmentally Friendly: Bamboo is considered an eco-friendly option as it is a fast-growing and renewable resource.
When choosing between vinyl plank and bamboo flooring, consider factors such as your aesthetic preferences, budget, durability requirements, and the environmental impact. Both types of flooring have their own advantages, so it ultimately depends on your specific needs and preferences.
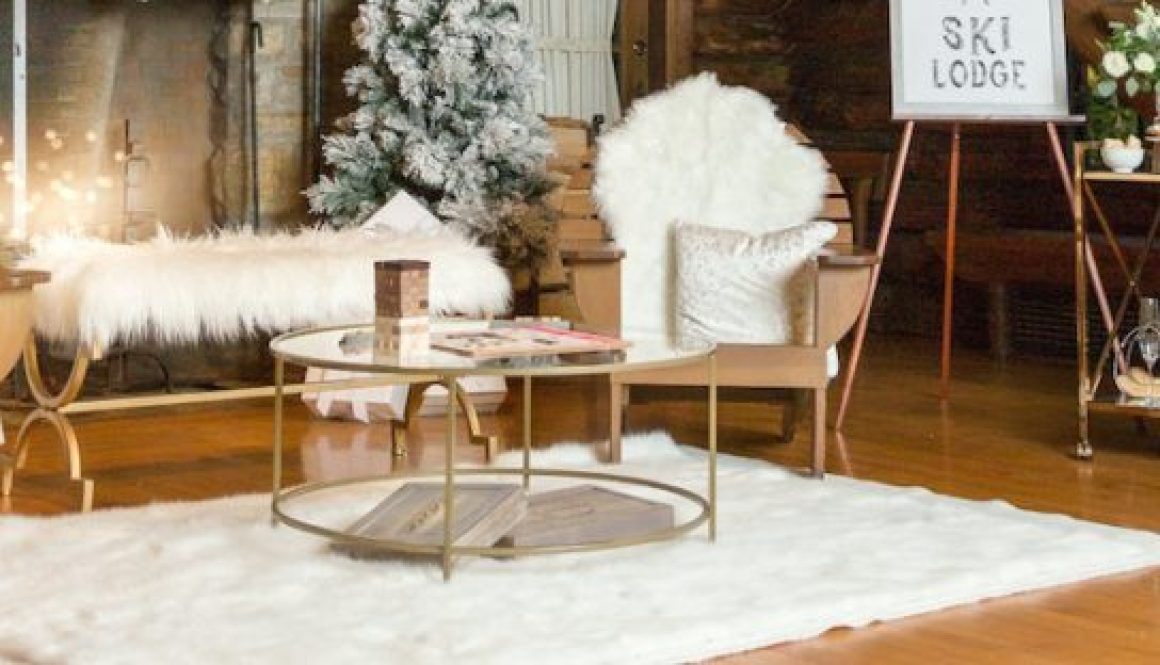
Holiday Parties and Wood Floor Traffic
Holiday parties can be a joyous occasion, but they can also pose challenges, especially when it comes to protecting wood floors from increased foot traffic. Here are some tips to help you maintain your wood floors during holiday gatherings:
- Use Area Rugs: Place area rugs in high-traffic areas such as entryways, hallways, and around seating areas. This helps protect the wood floor from scratches and dings caused by shoes and furniture.
- Remove Shoes: Encourage guests to remove their shoes at the entrance. Provide a designated area for shoes, and consider placing a decorative shoe rack or mat to make it more inviting.
- Furniture Pads: Attach felt or rubber pads to the bottom of furniture legs. This prevents scratches and dents when furniture is moved or rearranged during the party.
- Regular Cleaning: Clean the wood floors before the party to remove any dirt or debris. Use a soft broom, microfiber mop, or a vacuum cleaner with a soft brush attachment to avoid scratching the surface.
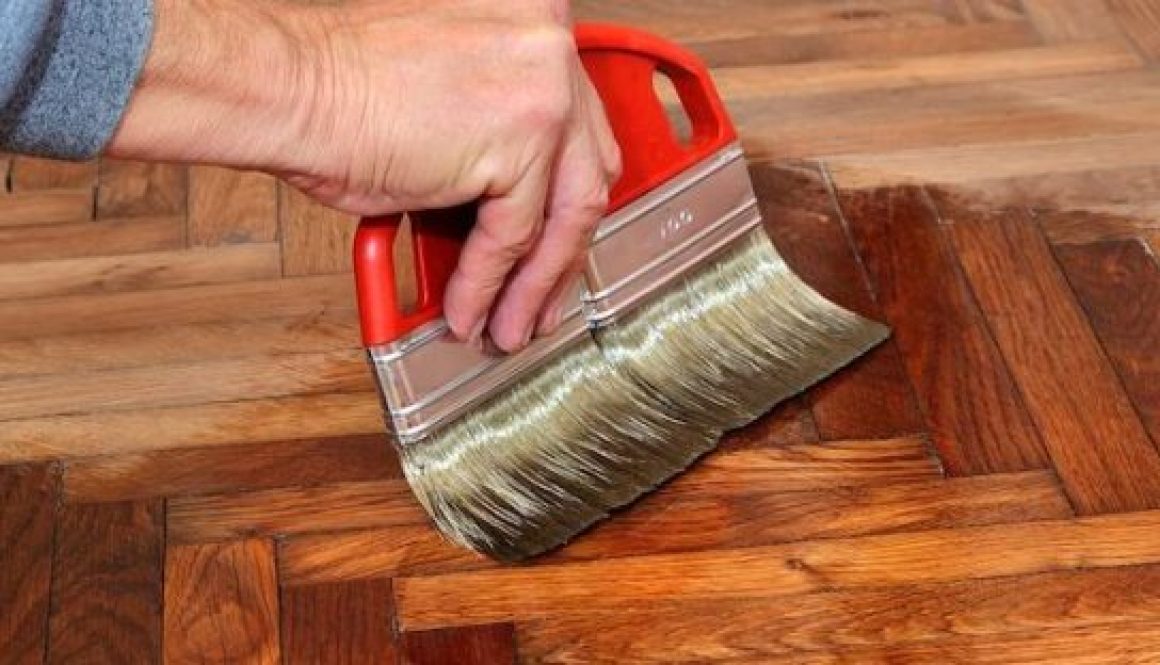
- Protective Coatings: If your wood floors have a protective finish, ensure it’s in good condition. Consider applying a fresh coat of polyurethane or another appropriate wood floor finish to add an extra layer of protection.
- Be Mindful of Spills: Accidents happen during parties. Be prepared with clean, absorbent towels to quickly clean up any spills to prevent damage to the wood.
- Control Indoor Climate: Wood floors can be affected by changes in humidity. Maintain a consistent indoor climate to prevent the wood from expanding or contracting, which can lead to gaps or warping.
- Cord Management: If you have electronic decorations or lighting, be mindful of cords to avoid tripping hazards and potential damage to the floors. Use cable organizers to secure cords along walls or under rugs.
- Limit Access: Consider limiting access to certain areas of your home to reduce foot traffic on the wood floors. Close doors or use decorative barriers if possible.
- Post-Party Inspection: After the festivities, conduct a thorough inspection of your wood floors. Look for any damage or spills that may have gone unnoticed during the event.